Jira Server credentials (FREE)
To integrate Jira with GitLab, you must create a Jira user account for your Jira projects to access projects in GitLab. This Jira user account must have write access to your Jira projects. To create the credentials, you must:
- Create a Jira Server user.
- Create a Jira Server group for the user to belong to.
- Create a permission scheme for your group.
Create a Jira Server user
This process creates a user named gitlab:
- Sign in to your Jira instance as a Jira administrator.
- In the upper right corner of the top menu, go to the gear icon and select User Management.
- Create a new user account (
gitlab) with write access to projects in Jira.- Email address: Jira requires a valid email address, and sends a verification email, which is required to set up the password.
- Username: Jira creates the username by using the email prefix. You can change this username later.
- Password: You must create a password, because the GitLab integration doesn't support SSO, such as SAML. To create the password, visit the user profile, look up the username, and set a password.
- Select Create user.
After you create the user, create a group for it.
Create a Jira Server group
After you create a Jira Server user, create a group to assign permissions to the user.
This process adds the gitlab user you created to a new group named gitlab-developers:
-
Sign in to your Jira instance as a Jira administrator.
-
In the upper right corner of the top menu, go to the gear icon and select User Management.
-
On the sidebar, select Groups.
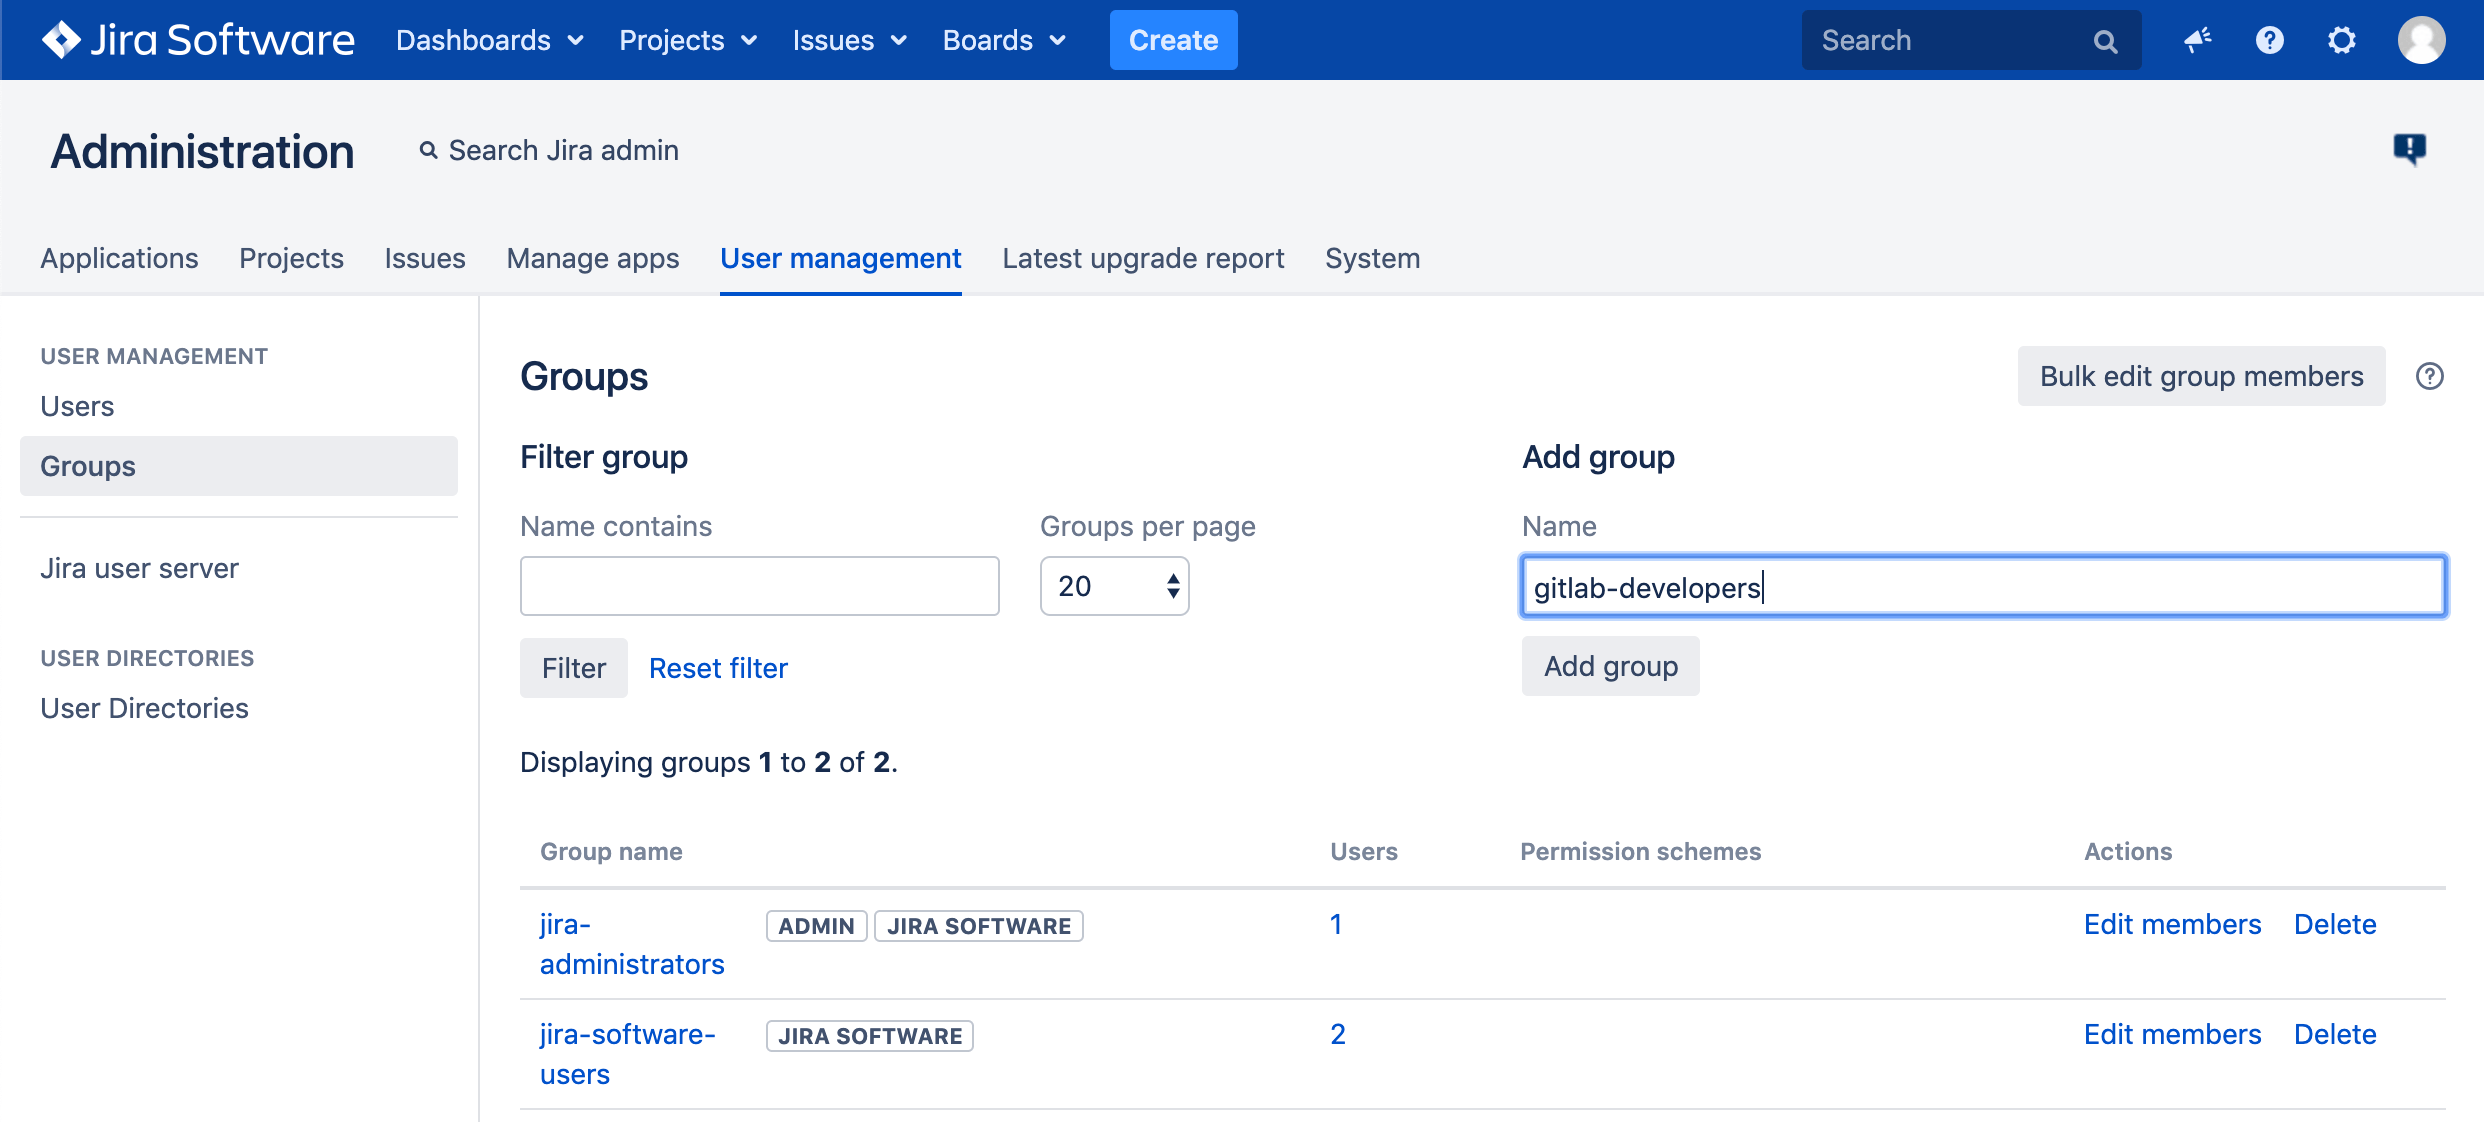
-
In the Add group section, enter a Name for the group (for example,
gitlab-developers), and then select Add group. -
To add the
gitlabuser to thegitlab-developersgroup, select Edit members. Thegitlab-developersgroup should be listed in the leftmost box as a selected group. -
In the Add members to selected group(s) section, enter
gitlab. -
Select Add selected users. The
gitlabuser appears in the Group member(s) section.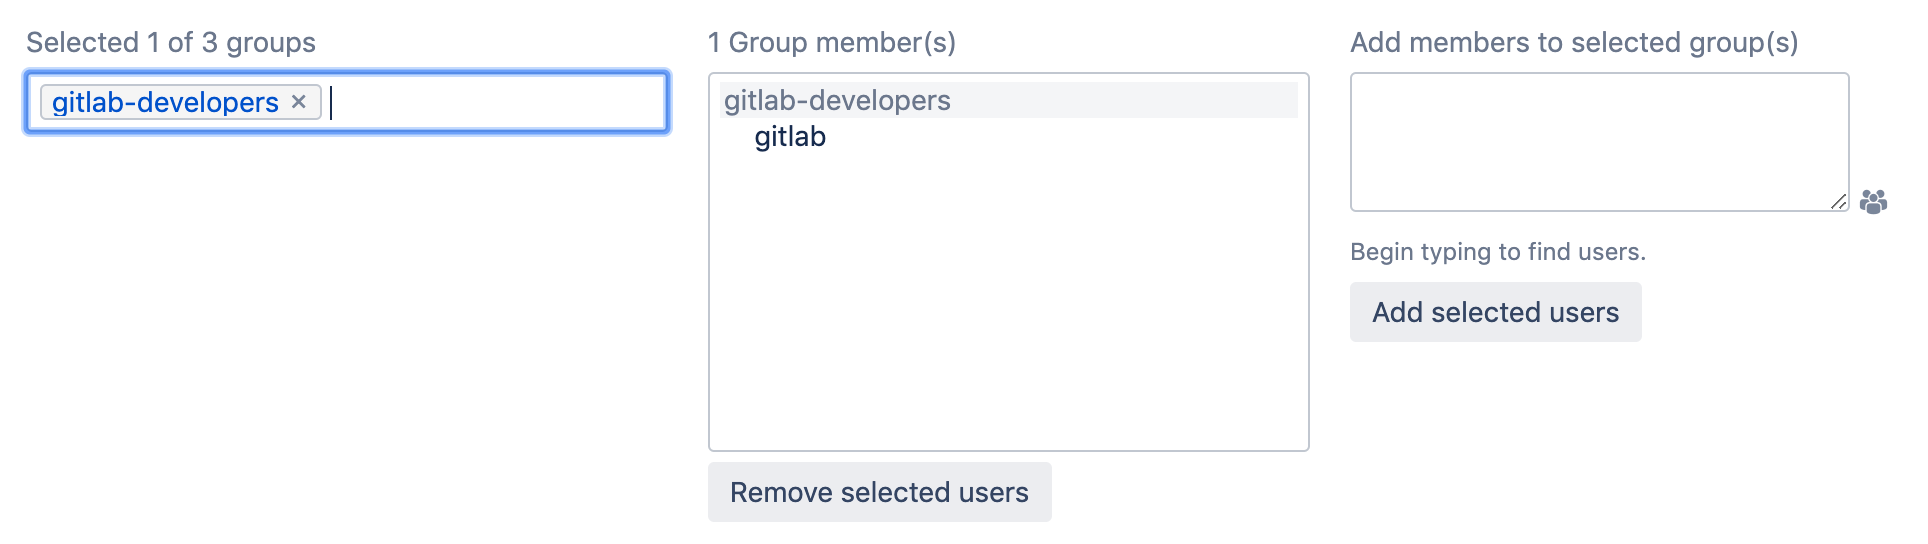
Next, create a permission scheme for your group.
Create a permission scheme for your group
After creating the group in Jira, grant permissions to the group by creating a permission scheme:
-
Sign in to your Jira instance as a Jira administrator.
-
In the upper right corner of the top menu, go to the gear icon and select Issues.
-
On the sidebar, select Permission Schemes.
-
Select Add Permission Scheme, enter a Name and (optionally) a Description, and then select Add.
-
In the permissions scheme list, locate your new permissions scheme, and select Permissions.
-
Next to Administer Projects, select Edit.
-
From the Group dropdown list, select
gitlab-developers, and then select Grant.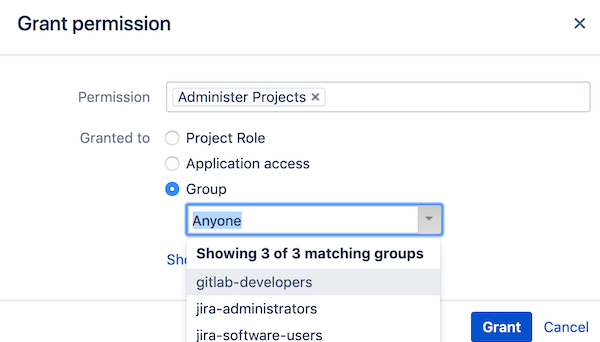
Write down the new Jira username and its password, as you need them when configuring GitLab.